Because skiing is more fun when your pack isn’t the size of a bear.
1. The Light Pack Philosophy: More Turns, Less Regret
There I was, standing at the trailhead, staring down the classic question:
do I bring a second smaller pack for the technical ski part, or just suffer the descent with my unwieldy overnight backpack?
This time I didn’t have to choose.
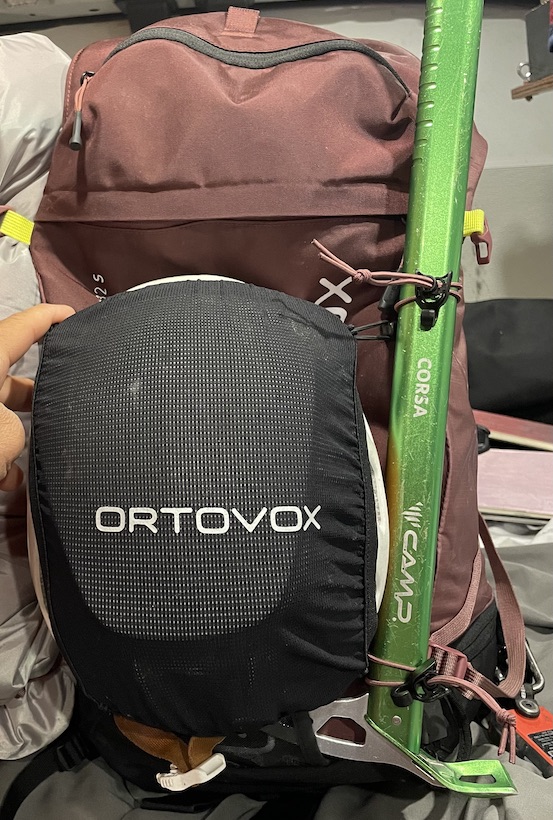
For the first time, I managed to fit two evenings of food, a sleep system, safety gear, and all my mountain essentials
into a 32-liter pack—with room to spare for a gummy bear or two. The secret? Intention, not sacrifice.
This approach is perfect for spring or summer conditions when overnight temps don’t dip much below the high teens.
- Better turns
- Less fatigue
- Faster travel
- More joy, less junk
2. The Sleep System: Simple, Warm, & Emergency-Ready
 |
 |
 |
|---|
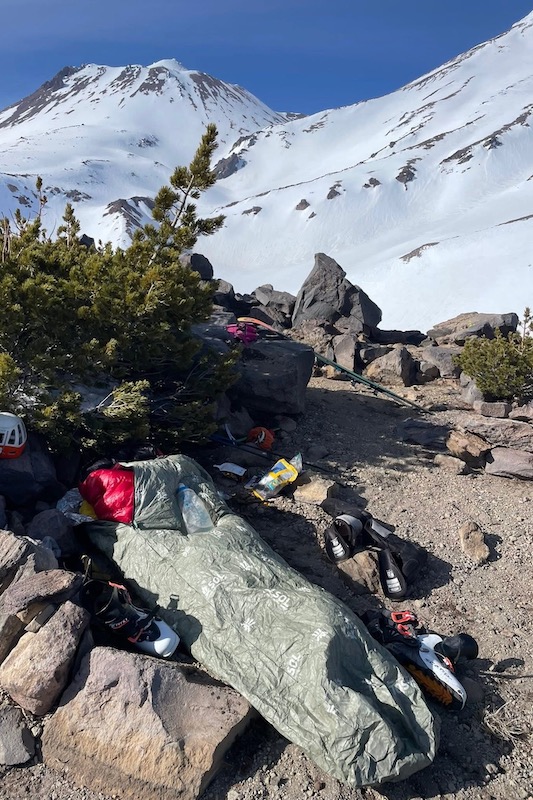
My sleep setup is evolving. It’s light, minimal, and it works:
- Sleeping bag: 1-lb Western Mountaineering 30° bag
- Pad: Light short inflatable since my backpack can go under my feet
- Shelter: Emergency bivy (always stays in my ski pack in case things go sideways)
I sleep in my ski pants, balaclava, gloves, sunshirt, puffy, and wind shell, so there’s no need to pack “camp clothes.”
Toss in a clean pair of underwear per day and an extra pair of socks, and I’m warm, comfy, and ready to ski again by sunrise. If my socks are damp, I wear the fresh ones at night and let the others dry along with my ski boot liners in my sleeping bag so they are not icycles in the morning.
On especially cold sections of a trip, I’ve even layered all my undies. 😂 Yes—it works. The little things can matter when facing the elements. Keeping all your bits warm is essential to staying safe and having fun. In very cold winds an ahtletic skirt is a lifesaver… keeps the important parts warm without overheating the rest of you.
3. Food Philosophy: Hot Meals, Light Load
I know some people live off bars, but I prefer real food and mountain views. My trick? Cook lunch.
I plan to cook midday during a break when I would be stopping anyway. Out comes the Jetboil, in goes a Mountain House meal.
With this system, I enjoy hot breakfast, lunch, and dinner—without hauling bulky snacks.
Here’s the full menu for a day:
- 3 Mountain Houses (only 1 or 2 exterior packets for every couple of days of mountain houses, with the Mountain House food contents in a ziplock. A ziplock is less bulky and less weight than the exterior packets. You can toss that extra packaging and the dehydration packets in town instead of giving it all a free ride through the mountains 😂). Hot food is supplemented with salt/pepper, some dry mash potatoes, instant grits, and instant oatmeal with Trader Joe’s dried fruit.
- Chocolate bars
- Mixed nuts
- Beef jerky
- Electrolyte powder
- Instant Coffee
4. Safety & Essentials
My inReach is clipped to my chest strap for easy access, even if I tumble.
The bivy stays with me at all times, not just at camp.
- Tiny headlamp for casual nights / big one if I’m moving under stars
- Glacier glasses
- Sunscreen stick + lip balm (live in ski pants for quick reapp)
- Ice tool on the outside
- Ski crampons + boot crampons in the lower compartment
- Camelbak for hydrating while moving
- 1 Nalgene bottle — doubles as a nighttime heater with boiling water
If I don’t have a critter-safe bag or bear canister, I bury my food under snow or stack rocks on it.
A short look at life with a 32L ski bivy
5. Bivy Life: Views, Stillness, and a Cold Nose
There’s something sacred about sleeping under a sky full of stars. I get to see the mountain change colors—twilight purples, silver moonlight, the slow creep of alpenglow.
It’s quiet. Real quiet. You see detail you’d miss in the midday sun. And when you’re not exhausted from carrying 60L of “just in case,” you actually get to enjoy it.
 |
 |
 |
|---|
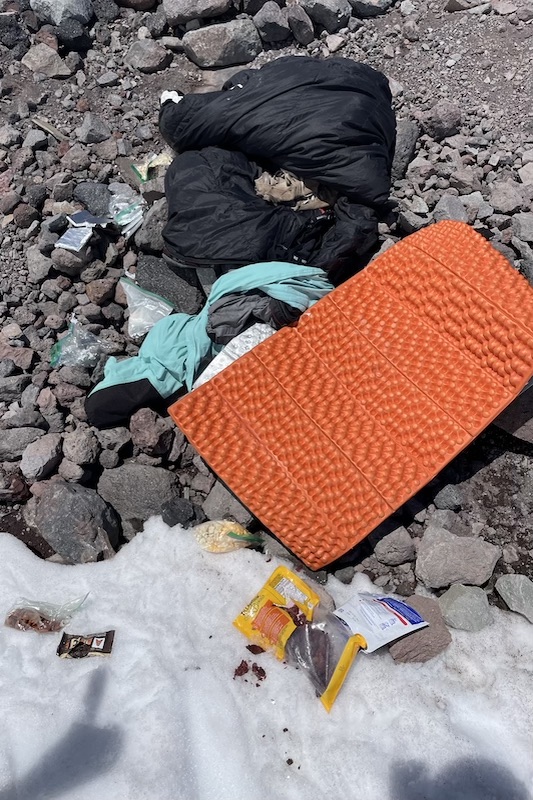
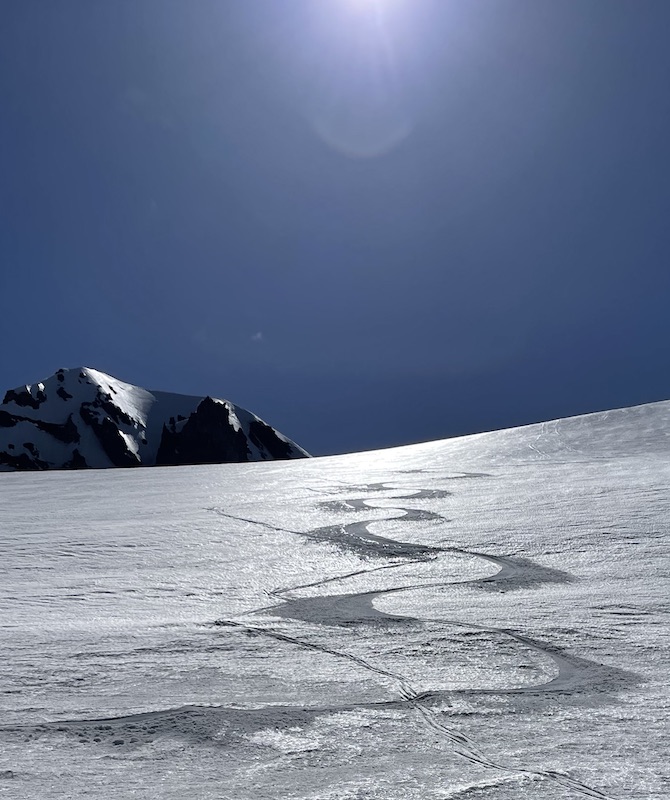
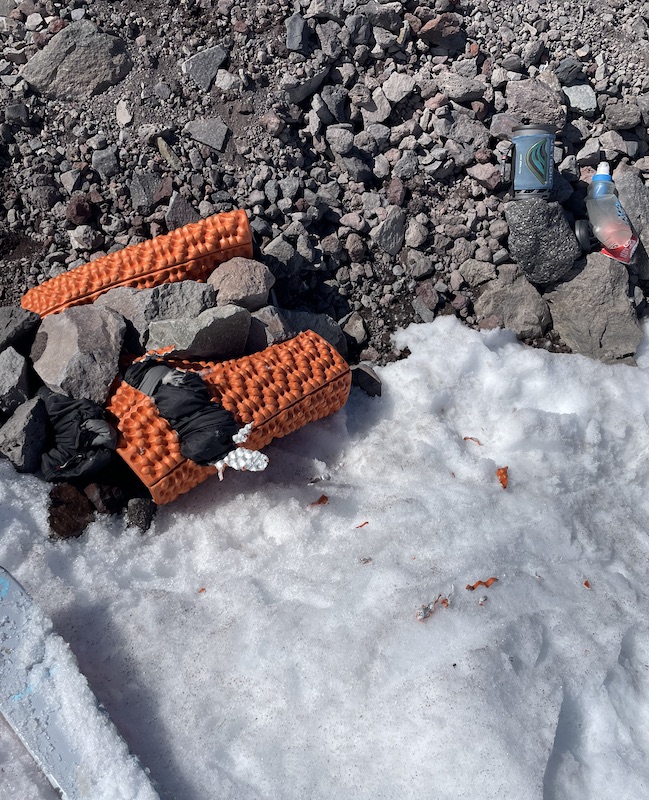
“Two summits, buttery corn turns, and one crow with no respect for personal boundaries.
Is it worth stashing your snacks separately and properly? I’ll let you decide 😂”
6. How I Pack It All
Organization is everything:
- Heavy gear on the bottom
- Frequently accessed gear on top
- Wet layers? Strap them outside to dry if there’s no precip. You want those layers dry when you go to use them again.
- Caution: When stashing your extra gear at the base of a climb or at camp, separate your food and make a temporary rock cairn around it. Leaving behind weight/bulk saves time on the up and makes the down way more fun. Just make sure it’s stored correctly even when you don’t see any vermin.
A small personal sack that lives in the easily accessible brain of the pack includes:
- Phone cord + headlamp/garmin charging cord (if I’m out 3+ days)
- Mini battery pack — because dead phones don’t drop pins.
Keep your phone alive long enough to get you home. Always use airplane mode on long excursions to stretch your battery life — GPS still works! And instead of letting your map app run a full track (aka battery drain mode), just drop a few pins. You’ll thank yourself when you still have juice left for emergencies… or summit selfies. - Contact case including solution in the case so that I don’t have to extra bring solution
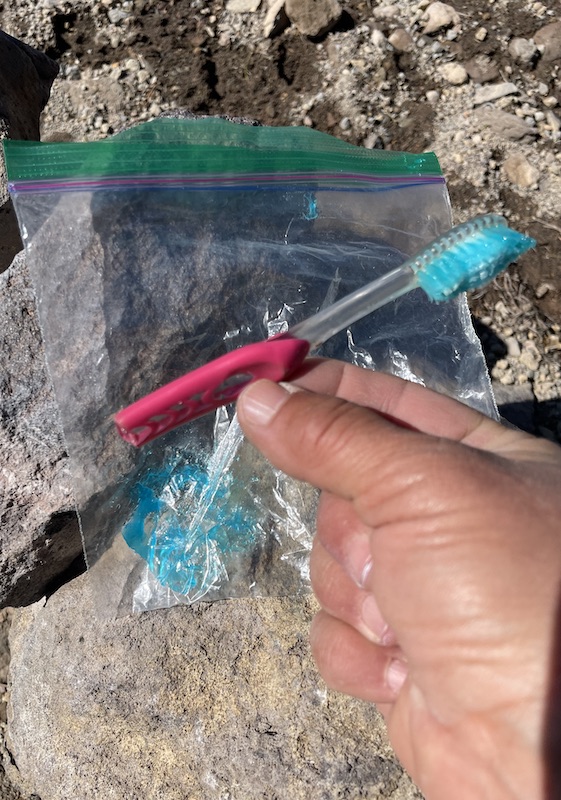
- Squirt of toothpaste in a ziplock + half toothbrush + a Flosser (because it feels good to be civilized) 😂
And I skip the spoon. That’s right—I just shake up the food and pour it into my mouth. It’s messy, efficient, and kind of fun. 😂
7. Final Thoughts: You Can Totally Do This
If you’ve been waiting for someone to tell you it’s okay to pack light and still ski hard, consider this your permission slip. You don’t need a giant pack. You need a smart system.
Use what you’ve got. Bring what you need. And always save room for chocolate.
This is such helpful information. I feel ready to head to the mountains. Thank You!
Brooke,
Love your website’s photos, style, heartfelt words of encouragement and wisdom!!! 🙏 🏔️🧗🏻♀️⛷️